We are all inventors, each sailing out on a voyage of discovery, guided each by a private chart, of which there is no duplicate. The world is all gates, all opportunities.
Ralph Waldo Emerson

Tuesday, June 22, 2010

Cotham's

Our Saturday trek to Cotham's in Scott, AR. This little place has been featured on the Food Network and Travel Channel for it's Hubcap Burger, a ridiculously huge beef burger served with all the fixings.

As Hubby so lovingly commented last night on skype, Baby Boy and I are losing our tans. Can't wait to get back to the swimming pool and be a little lazy after these crazy weeks.

Bro and the infamous Hubcap Burger.
It was smaller than on the TV shows, which was a little of a disappointment for my photo. You can order it with up to 4 patties.

A few details that made up the relaxed, old timey general store ambiance.
Tiny wicker/wire baskets for sweeteners...

Gingham curtains framed with a plastic pine Christmas garland and Christmas lights...

And tons of quaint antique fixtures like this real telephone on the walls....

Overall, a very enjoyable visit :)

I Love My Daddy

Presented this to Hubby on Father's Day and didn't get around to posting it here.

A virtual photo card from Baby Boy to his Dad:


I love my daddy.

I love my daddy because he takes me on new adventures!


Daddy holds my hand when I'm a little afraid....

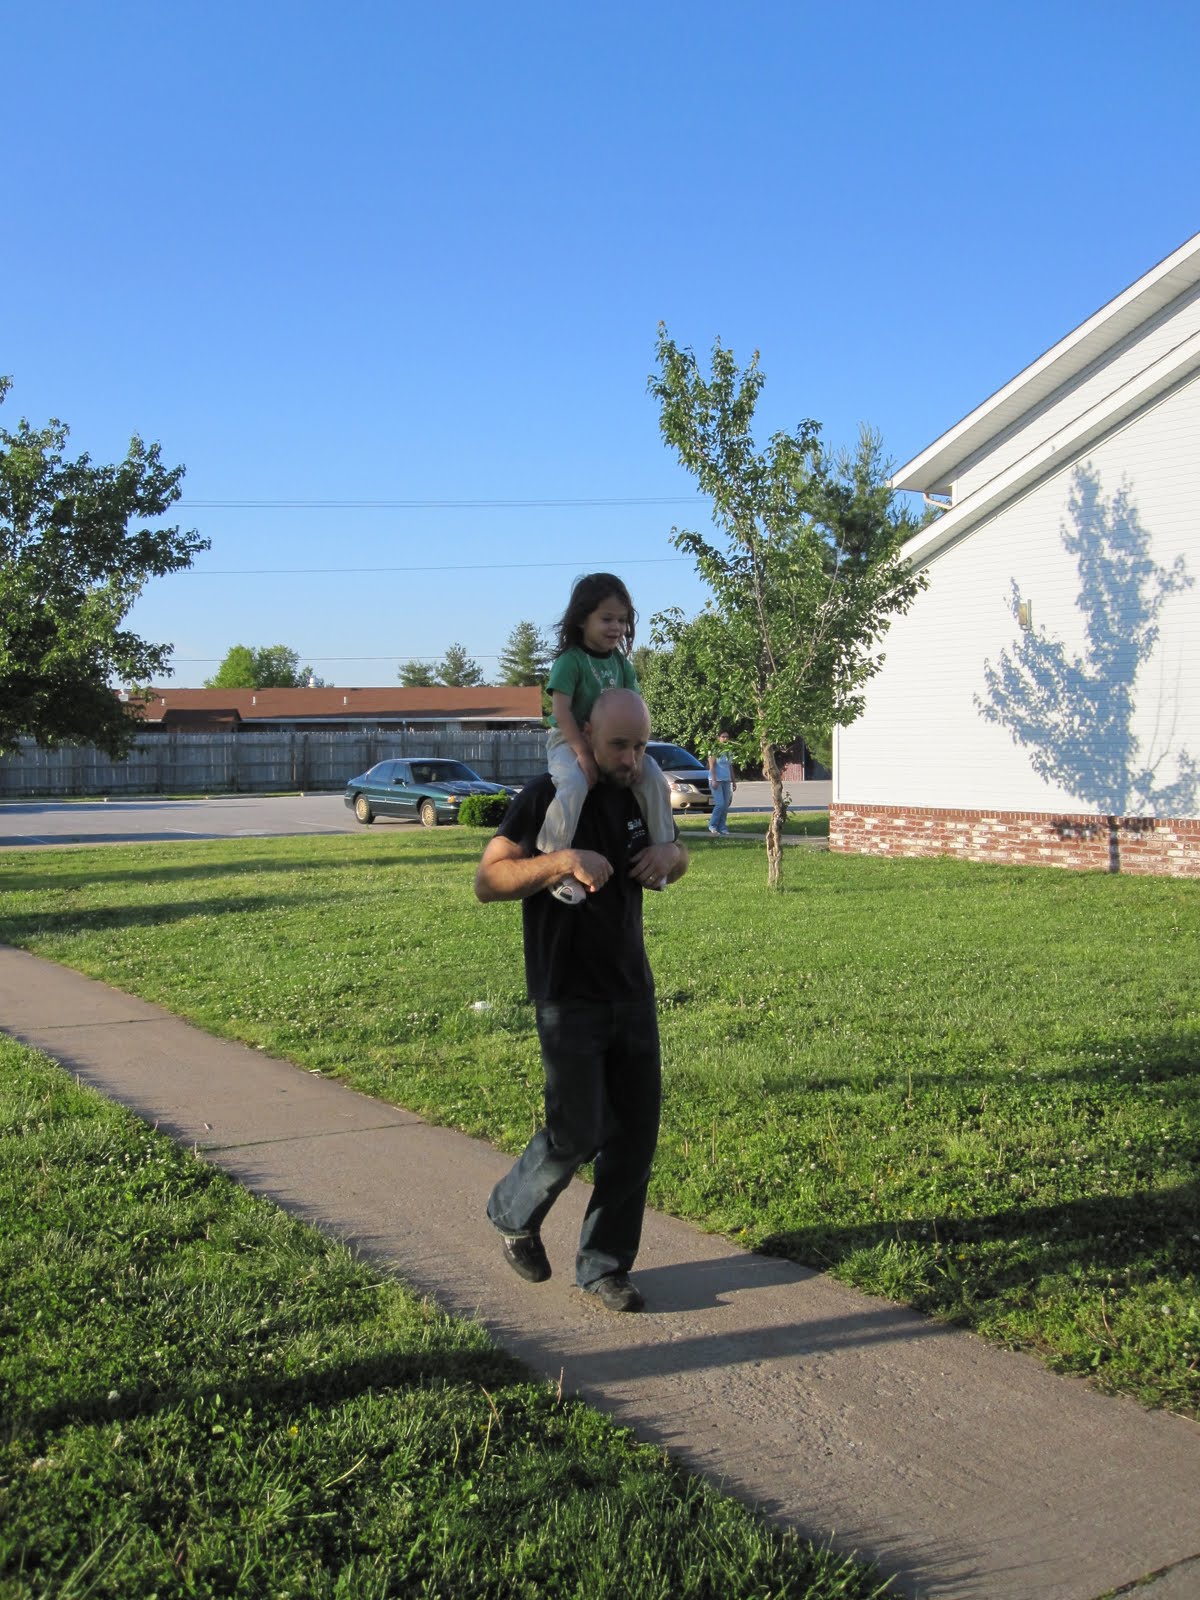
And to keep me safe when we're out for a walk.

I love my daddy.

I love spending time with my daddy.

Whether it's just to be together......


Or to talk about our day.

Daddy's always ready to spend time hanging out...

Or help me read my special wishes that come in the mail....

And even play the funny face game.

My daddy gives the biggest and warmest hugs!

But mostly, I love my daddy..... because he's Daddy.

And I'm his little boy.
Happy Father's Day, Daddy! Mama and I love and miss you!


Wishing a Happy (belated) Father's Day to all the wonderful daddies out there! Especially the original: Mama's dad and Baby Boy's Papa. Alofa atu....

Tutorial Tuesday: How to Replace a Light Switch Plate

It seems the previous owner used a sprayer to paint all the rooms, including the light switches and outlets. Not a great look. To top it off, it is flat paint so it absorbed every smudge and print left by frequent use.

This was my very first time changing out switch plates, so I figured I'd document it.

STEP 1: Use a box cutter to cut through the paint attaching the plate to the wall. Do not cut into the drywall! Notice the angle of the blade. All that was needed was to separate the plate from the wall.

STEP 2: Using a screwdriver, remove the tiny screws and then lift off the plate.

STEP 3: Install the new plate with new screws, making sure it's straight. 
These took less than 2 minutes each. I can imagine how quickly it would go replacing plates that aren't fused to the wall with paint. 

Repeat on outlet covers.
You can see the switches and actual outlets are still caked with paint, but it looks a whole lot better. I was excited to do this little makeover! During my cleaning, I came across a bunch of these plates Hubby collected while he was working construction. I think it makes a big difference! Not perfect, but much better. Only a few more plates to go before I'm done with this little project.

I found remnants of a pretty (but dated) wallpaper under the kitchen light switch plates. I'm curious now what this place looked like originally.... it has me daydreaming about the people who may have lived here.

Well... back to the grindstone. I get to see my man soon! Yay!!

Start Swagging!

Recommended reading and other products...